Content
Shopware

Shopware 6 - How to Extend It with Plugins

Shopware 6 is an open-source eCommerce platform popular mainly in English-speaking countries. It is based on two equally well-known frameworks - Symfony and Vue.js. However, despite the “high-profile” technologies used in the development of this framework, not all developers manage to achieve full compliance with their project image using only what is given by default.
Lets talk about itHave a project in mind?
In this brief feature, we talk about solving this issue in an optimal way. Namely, by using a handy Shopware plugin.

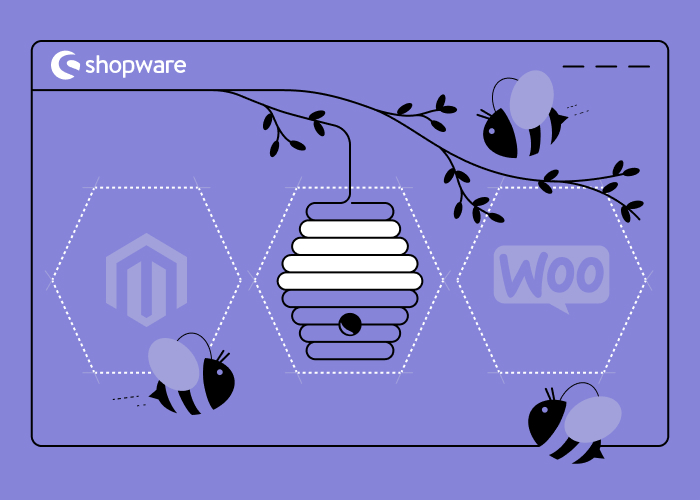
Image Source: divante.com
Shopware 6 - Extend Service & Customize Your eCommerce Project
Shopware 6’s predecessor, Shopware 5, has already been downloaded over 800,000 times, and now its creators offer web developers something even more flexible, reliable, and convenient. Note that in the foundation of Shopware 6 lies the API-First concept, which means that this solution integrates with almost anything.
Thus, even though Shopware 6 features are already able to satisfy a lot of developer needs, you can easily connect third-party solutions to your project to make it even more customized. Below, we talk about one of the varieties of such integrations that helps Shopware extend service capacities you have using plugins.
Read also: How to grow Shopware
Why Use Plugins in Shopware 6 & Extend Standard Interface?
In fact, Shopware 6 plugins provide an ideal solution for those web developers who have neither the time nor the desire to delve into the base code to “tailor” the platform to the individual project requirements.
Note also that the default Shopware 6 kernel comes with an integrated system of plugins (Symfony packages) that can be activated as needed. Thus, from a technical point of view, programmers are provided with the following options:
- launch of new, previously unidentified events;
- launch of new services (or customization/disabling or the old ones);
- extension of the system with new entities.
Now, let’s briefly consider the major types of plugins that can come in handy in your particular cases (all of them are available in the official store of plugins for Shopware).
Shopware SEO Plugin
Let’s start our Shopware 6 plugin review with perhaps the most popular category of plugins - plugins for SEO. They are needed to quickly improve the position of a web resource in search results and provide stable traffic. Such plugins analyze the existing website content, its markup, links, and many other attributes that affect the search ranking.
In addition, some of them are “tailored” to specific search engines (for example, Google), helping to achieve exact compliance with their search results policies. View the full Shopware 6 plugin list for this category.
Shopware Newsletter Plugin
This type of plugins is most useful for those who want to optimize the process of sending corporate emails and better attract potential customers. With their help, you can set mailing schedules for each individual client, thereby avoiding sending messages to every other person. Take a look through these newsletter Shopware plugin downloads here.
Shopware Migration Plugin
This category of plugins allows you to quickly and painlessly carry out migration from any other platform to the Shopware platform. Typically, these plugins do not require developers to know the software code, so a seemingly difficult process of migration turns into a simple sequence of actions implemented using the GUI.
Shopware Blog Plugin
Most modern online stores contain a blog with articles in order not to lose their position at the top of search results. You can also add this block to your web solution in order to improve your SEO performance.
Shopware Backup Plugin
Creating a backup using plugins will allow you to ignore the technical issues associated with updating the platform. So, having pressed just a few buttons and manually setting a shortlist of parameters, you will update the framework without any risks and, if necessary, return everything as it was.
We’d also recommend paying attention to Shopware import plugins, Shopware debug plugins, and Shopware create plugins.
What to do with Plugins if the Platform Has Been Updated?
When updating the platform, a Shopware 6 developer needs to update plugins connected to the project as well to ensure end-to-end compatibility. You can find out which plugins correspond to Shopware 6 requirements and which don't in the Auto-Updater admin panel.
Shopware Plugin Update
Here’s a small Shopware plugin tutorial to help you cope with achieving the compatibility of previously installed plugins:
- unarchive updates & start updating files in the Shopware backend;
- go to https://www.yourstore.com/recovery/update/index.php;
- launch the updating process (it may take a while);
- finish the updating process & check whether the maintenance process is still active (you may have to delete the contents of the update-assets directory;
- clear browser cache & data that was saved in the browser upon launching your site on the localhost;
- check that everything works correctly (otherwise, delete all the directories that look like this - /var/cache/prod_xxxxxxxxxxxxxx);
- see whether there are any updates for the plugins you use - if there are, download and connect them.
Shopware Plugin Development - How it Happens
Image Source: docs.shopware.com
At this stage, we offer to figure out how the interaction of plugins in Shopware 6 takes place and consider an abstract algorithm of creating a plugin.
Step #1 - create a directory for a new plugin
In particular, you can open access to new, previously unconnected plugins through the /custom/plugins directory. Here, in fact, a separate directory is created for those plugins that you plan to use.
Inside this directory, you must create the src directory (/custom/plugins/”plugindirectory”/src) where you need to allocate the base class of the plugin. All because through it, in fact, a plugin interacts with the platform. In order to optimize the directory structure, you will also need a .php file inside the src directory.
Step #2 - create a Composer
Each plugin is based on composer.json, and the connection of new plugins is done through the composer require. That is, if you are creating a plugin, you will have to start by creating composer.json in the plugin directory.
Here, you will need to specify parameters such as type, description, version, license, and the name of the developer. On top of that, you can specify additional metadata, such as copyright, tag, and icon.
Step #3 - create entities
Now, you can start describing entities in the src directory. Here, you will need to create an Entity child folder and put the file MyStorePluginEntity.php in it. The file should contain the software code that would describe entities. In turn, you will need to identify the dependencies in the container and put this all into practice (for example, the services.xml file should be in the Resources/config folder).
Step #4 - connect a plugin with database & create a controller
At this point, you will have to link your plugin to the database (if necessary) and create the controller MyStorePluginController.php in the src/Controller directory.
Voila! Now, you can interact with your freshly-implemented plugin via API and use it for your particular eCommerce purposes.
Extend Shopware 6 Review - Summary
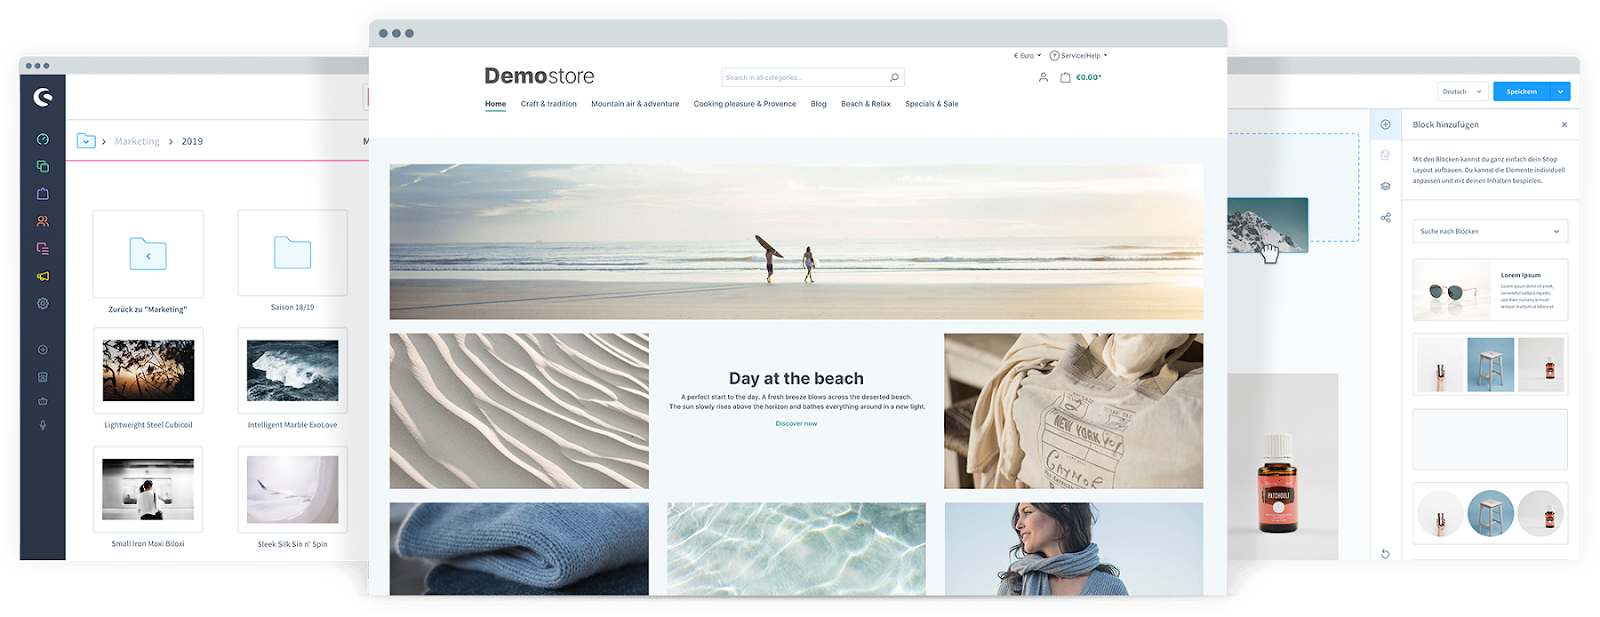
Image Source: shopware.com
If you are looking to extend Shopware 6, the summary is that Shopware 6 is a b2b tool to brag about, being a universal, easy to use, extremely flexible, and reliable framework for eCommerce solutions. Due to the galore of offers on the Shopware plugin store, you can complement the existing functionality by adjusting it to your needs/customer needs.
Take into account that Shopware 6 is actively evolving, therefore we advise you to regularly check the changelog and make changes into your plugins accordingly.
We can develop top-notch solutions based on this platform, as well as help you create and connect a Shopware plugin to custom products. Contact us right now to learn more details about a future project and discuss the Shopware 6 plugin development process as a whole.


Lassen Sie Profis Ihre Herausforderung meistern
Unsere zertifizierten Spezialisten finden die optimale Lösung für Ihr Unternehmen.